|
If someone would have told me after my first online class that eventually I would be venturing into the world of online instruction, I would never have believed it...
My first online class was impersonal. I needed one class to complete an endorsement on my teaching certificate and I figured that taking it online over the summer was my best option. I quickly learned that it was not for me. I had little to no contact whatsoever with my instructor or peers, and the conversations didn't feel authentic in the way that face-to-face discussions generally do. I missed the collaboration and the community that I felt when I sat in the physical presence of peers. I ended the class feeling disillusioned with online classes. My other online classes after that initial one weren't much better. During my Doctorate program, I attended live Zoom meetings with about 50 other Ed.D. students pursuing various areas of interest. These were 3-hour lecture sessions with minimal student participation and when students did participate, I felt that it was the same handful out of 50 who led the conversations every week. I also pondered that while I didn't enjoy being lectured for 3 hours, I definitely could never imagine myself as the teacher having to deliver a 3-hour lecture to my computer camera. My perception of what it means to teach virtually drastically changed during the Spring of 2019. I was teaching full-time at a high school and part-time as an adjunct faculty member at the local community college when the entire country shut down what seemed like overnight (or so it seemed) due to the COVID 19 pandemic. Without much warning, I was faced with transitioning from a traditional face-to-face classroom that I had built to foster community, collaboration, and excitement about learning, into an exclusively online format. If there is one thing that I've learned about online teaching, it's that all instruction begins with people and relationships. To me, this is the most challenging part of teaching online: building and maintaining the sense of connection, even when we're physically separated. Luckily, my passion for technology gave me a starting point (a teaching "bag of tricks" that not all teachers had), but I also knew that I could not teach online the way that I had been taught. Instead, I would still need to use my empathy and authenticity to reach learners on a more personal level and to create a welcoming environment for all students. I also try to find ways to develop rapport with my students, despite the physical distance: I want them to know that they are communicating with a realy person who genuinely cares about them and their education, not a computer screen. I make time for genuine conversations through digital platforms, including emails, synchronous meetings, and use of my learning management system. I also make intentional decisions about the activities that I use to engage students, carefully selecting those that I think will allow for me to learn more about my students and will give learners more ownership over their learning. I also make sure that I provide specific and timely feedback, praising students when appropriate and offering guidance when necessary. Overall, teaching online means that the mode of communication has changed, but the need for community and connection has not. I may be using new Chrome extensions to record verbal feedback instead of conducting student conferences, but I'm still putting my students first because once your students know that you care about them and their success, that's when the learning really takes off.
4 Comments
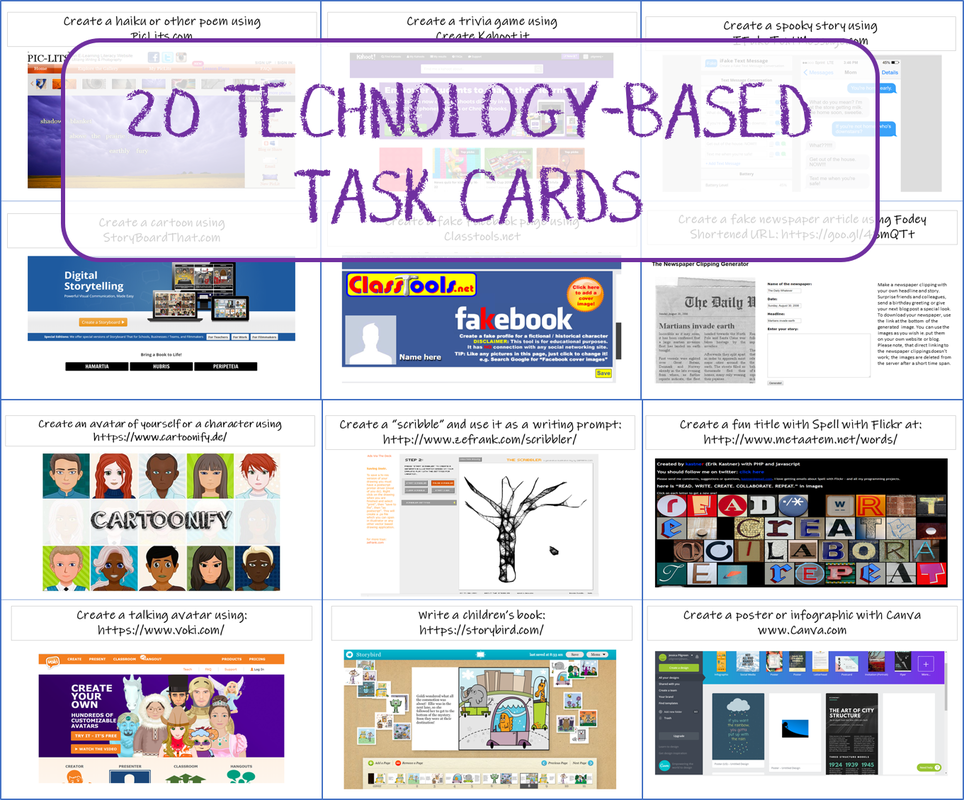
Do you have students that finish their assignments early? Want to keep your kiddos on-task during class time, even after they finish? Looking for a fun sponge activity that provides enrichment for quick workers and opportunities for educational technology? Try these technology-based task cards! Right now, they are ABSOLUTELY FREE in my Teachers Pay Teachers store.
In my classroom, I have these printed, laminated, and attached to magnets so that I can hang them on my dry erase board. This way, when students finish the day's activity, they can go up to the board, explore their options, and take whichever card interests them back to their desks. When the hour is over, they simply return the task cards to the dry erase board. These tasks become sponge activities that count as entries in the composition notebooks that I require students to keep throughout the school year.
Do you like using Youtube videos as part of your curriculum, but want a way to make sure that your students are getting the most out of them? Want to allow students to view educational videos at their own pace while also checking for comprehension? Do you have a flipped classroom and want to keep students accountable for their homework? Then EDpuzzle is the right tool for you!
EDpuzzle allows user to make any video a lesson by embedding teacher-created questions and comments, while also monitoring to make sure that students are actually watching the videos. As the administrator, you can see how many times a section of a video was watched and how many times a student attempted to answer a question. And students have to watch the video; if a new tab is opened, the video automatically stops and waits for the student to return to the EDpuzzle tab to resume viewing. Below is the training deck that I created and used as part of a presentation at my local Regional Office of Education's Tri-County Institute, a day of professional development for educators throughout the three counties, which includes a lot of content developed for teachers by teachers. My presentation was interactive, so participants were able to watch pre-made EDpuzzles and make their own resources.
What is a playsheet? "Playsheet" is a catch-all term coined by Educational Technology guru Alice Keeler in her book 50 Things You Can Do with Google Classroom. Playsheets are essentially educational games that take the place of worksheets. They are more engaging and exciting for students, and they usually offer immediate feedback, making them ideal formative assessments! Below is the training deck that I created for training in my district, and for a workshop that I delivered at the Illinois Education and Technology Conference in November. I was actually lucky enough to meet Keeler, one of my teaching heroes, at this conference: she was the keynote presenter and I met her in the presenters' prep room. It was a "fangirl" moment! This training deck includes details about some of my students' favorite playsheets: Kahoot, Quizizz, Quizlet, and Classtools. My students absolutely love studying with these online tools and using them has completely changed the energy in my classroom!
What is your favorite playsheet?
 This school year, one of my major goals is to improve communication, with both parents and students. My district uses Teacher Ease, which allows parents and students to view grades online at any time; however, I want to go above and beyond my district's requirements in order to boost student achievement. The National Board process also made me think deeply and reflectively about what I am currently doing to engage parents in meaningful two-way communication, and how I can improve upon my existing practices. After some deliberation, I've decided that this year, I am using the following tools... 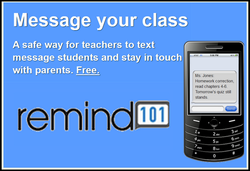 REMIND 101 is a great tool for staying in contact with both parents and students. It's an opt-in method of communication; individuals choose to sign up only if they want updates. The teacher can send announcements and reminders from their computer, and then people who have signed up will receive these messages on their phones in the form of a text. Best of all, everyone's phone number stays completely private; the phone numbers of teachers, students and parents all remain completely confidential. Recipients of Remind 101 messages cannot text the teacher back, nor can they text one another. You can send messages immediately or you can schedule them for a later date; for example, you could create a reminder for semester exams in August, but schedule it to actually be sent in December. So far this year, the feedback regarding Remind 101 has been overwhelmingly positive. I had students sign up during class time. I also sent a letter home to parents with instructions on how to sign up (which is as simple as sending one text message), and I talked about it at Open House this year, too. I am not sending reminders for every single homework assignment, but I am using it to remind students and parents about major assignments, such as tests, projects, and essays.  This year, I used Obsurvey to conduct two separate surveys: one of students and one for parents. I sent out the parent survey a few weeks before school actually started; I was able to do this through Teacher Ease, which houses contact information for parents (including email addresses). I asked parents about their preferred method of contact, as well as basic questions about their child (strengths, challenges, etc.) I conducted the student survey in the school computer lab the second week of school.This survey asked students questions about their identities as readers and writers, and what they saw as their own personal strengths and challenges (both academic and social). These surveys were immensely valuable in terms of allowing me to get to know my students and parents early on, and letting them know that what they had to say was important.  Weebly is one of the staples in my technology arsenal. I've tried other web-creation sites, and nothing beats the professional quality and the user-friendliness of Weebly. This site was created using Weebly, and I always recommend it when colleagues mention a desire to build websites. In fact, I'm working on a presentation right now called "If You Can Use Power Point, Then You Can Build a Website." I'll post my presentation in the future once it's complete. Over the summer, I also taught a college for kids class; I led a group of students that had just completed grades 4-7 to build their own websites using Weebly, and they turned out fantastic. Weebly uses a drag-and-drop interface that makes beautiful, professional sites in minutes.  This year, I'm planning on creating a regular newsletter to send home to parents. Smore lets you create very nice-looking digital newsletters, flyers, advertisements, and announcements very quickly. They can include text, images, and multi-media content (such as videos). The only drawback is that there isn't an easy way to print the newsletter for parents who do not have computers available; however, this could probably be remedied by taking snapshots of the screen with a tool, such as Awesome Screenshot, and then pasting the images into Word or Publisher (or similar software programs). Regardless, Smore's creations are stunning and sure to please tech-savvy parents and students alike; this is a great visual way to keep parents "in the loop" throughout the school year.  Below is a document that I created and distributed to my coworkers during a School Improvement workshop on using Google Docs. This is an updated version from my previously posted tutorial; aside from the updated term "Google Drive," it also includes an introduction to the other types of files offered by Google Drive. Please feel free to print and distribute to others. Also, if you would like a copy of it in a different format (for editing purposes) send me and email. I am glad to help. 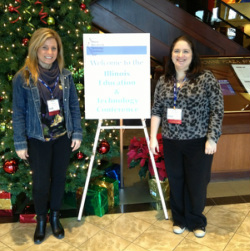 My talented colleague, Jane (left) and me. This week, I had the privilege of attending a two-day conference in Springfield, IL, at the Crowne Plaza Hotel: the Illinois Education & Technology Conference (IETC). I was lucky enough to be accepted as a presenter, along with my super-technology partner-in-crime, Jane Zappia, who teaches sixth grade in the same district as me. We had both attended this conference two years ago, but then were not able to go last year due to budget cuts--if you teach in Illinois, you probably know exactly what I'm talking about--so we decided to attend this year as presenters* (pronounced "free"). Our presentation was on using Screenr in the classroom, a free and simple web-based screencasting program with several classroom applications. You can view our presentation notes HERE, if interested: http://tinyurl.com/clqpcbz 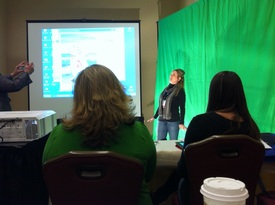 Jane poses for a green screen photo. My Favorite Session at IETC One of our favorite session at the IETC conference was a presentation put on by some teachers from Centralia, IL. The session was on using green screen software. The software wasn't free, but definitely reasonable (approximately $100 per package). The two software packages come from the same company, but one is used for still photographs, Green Screen Wizard, and the other one is used for video footage, Green Screen Zipper. With these programs, you can change the background of your video and create the effect of students being in any setting--the moon, the White House, under the sea. If you can find a picture of it, you can put your students there. Jane and I were both excited about the classroom potential for engaging students, and have put these items on our Christmas lists! NOTE: As my brain continues to process all of the things that I learned while at IETC, expect for more blog posts... Were you at ICTE also? If so, what was your favorite part of the day? Answer in the comment section below.
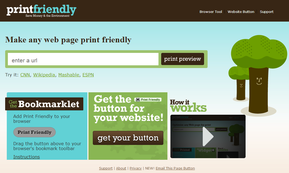
 As a teacher, I know that it's important for my students to be reading nonfiction as well as fiction. One great way to incorporate nonfiction is by having students read online news articles. I like to use The Week, The Huffington Post, and the NY Times. I'm also a frequent visitor of Kelly Gallagher's Article of the Week archives. While all of these websites offer great news articles, printing nice "clean" ad-free copies for student use can be a bit of a hassle. That's why I recommend the following web tools:
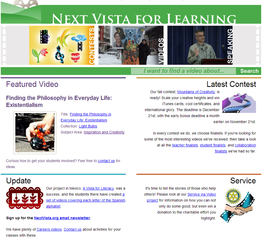 Next Vista for Learning is a growing website that offers access to hundreds of FREE videos created by and for teachers and students. The videos are acquired through ongoing contests held by Next Vista, so it is constantly expanding and promises to grow with time. One thing that I really like about this site is that it promotes students are creators, and not just consumers, of digital media, which can be very empowering. If students already possess the knowledge that needs to be taught, then let them design videos based on how they would want to learn. Kids know how other kids want their information delivered, so it makes sense to put them in the driver's seat. Video production could be easily modified depending on students' comfort level with technology. Beginners could use Web 2.0 tools, such as Animoto, or could record their videos with a camcorder; more advanced students could edit with programs such as iMovie or Windows Movie Maker to create transitions, animations, and themes. I could see myself having students create videos for Next Vista for Learning, and then embedding these videos or linking to them on my classroom website. Creating these videos would be a great way to review content for exams, and these videos would become great anticipatory activities for following school years. Note: Contests are held in the category of teacher-created, student-created, and collaboration videos. |
AuthorDr. Jessica Pilgreen, Ed.D. Archives
December 2020
Categories
All
|

